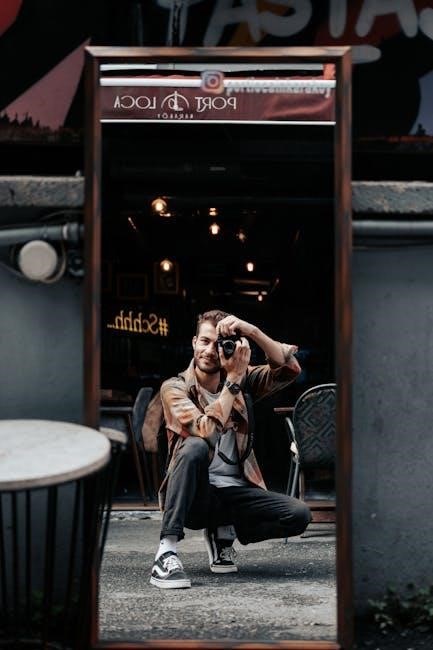
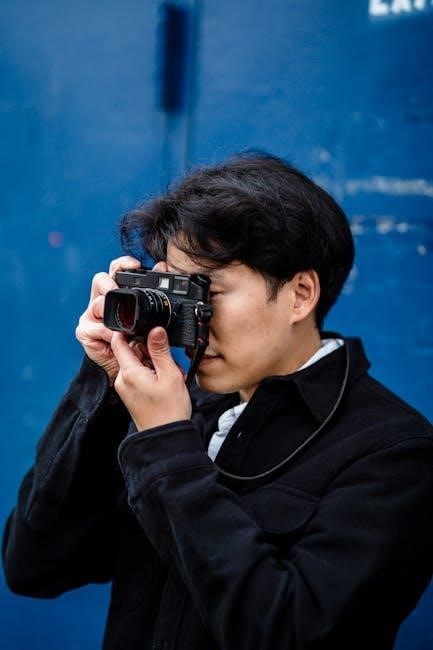
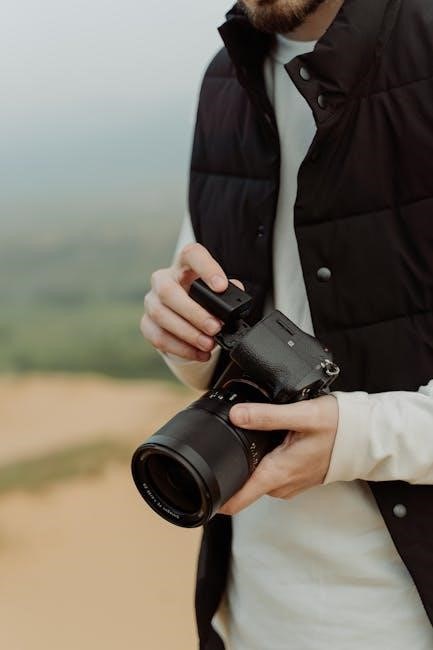
Mastering manual mode unlocks creative control, enabling precise adjustments to aperture, shutter speed, and ISO for outdoor photography․ This guide helps you harness these settings to capture stunning images with confidence and flexibility, ensuring optimal results in varying light conditions while maintaining detail and natural colors․
1․1 Understanding Manual Mode Basics
Manual mode grants full control over aperture, ISO, and shutter speed, enabling precise adjustments to capture images exactly as desired․ It allows photographers to balance exposure, depth of field, and motion blur while adapting to changing light conditions․ Mastering manual mode basics is essential for creative freedom and versatility in outdoor photography, though it requires practice to fully harness its potential․
1․2 Benefits of Using Manual Mode in Outdoor Photography
Manual mode offers precise control, allowing photographers to freeze or blur motion, adjust depth of field, and optimize ISO for lighting conditions․ It enables capturing images with desired effects, from sharp landscapes to creative portraits․ Shooting in RAW ensures flexibility in post-processing, making manual mode essential for achieving professional results in outdoor photography․
Aperture Settings
Aperture settings control light intake and depth of field, crucial for outdoor photography․ Wide apertures isolate subjects, while narrow apertures capture detailed landscapes, balancing creativity and technical precision effectively․
2․1 Wide Aperture (Low f-stop) for Portraits
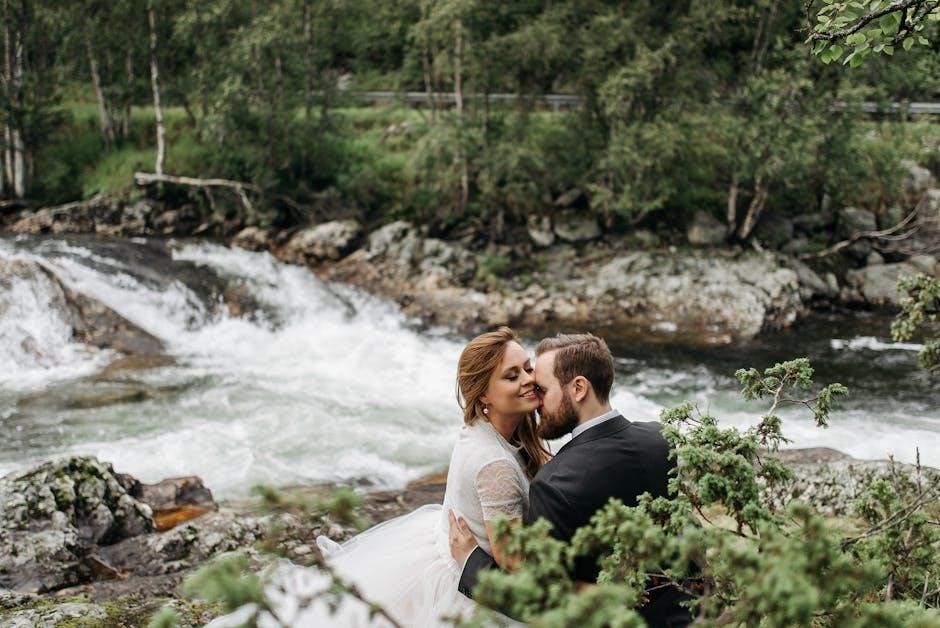
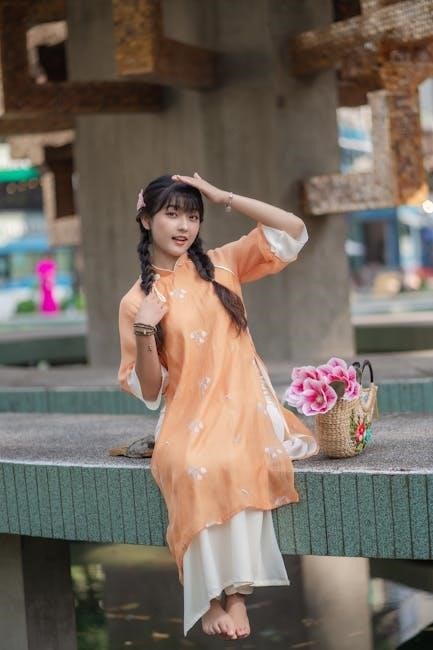
A wide aperture (low f-stop) creates a shallow depth of field, isolating your subject and blurring the background․ Ideal for outdoor portraits, it emphasizes your subject’s features while adding a professional, artistic touch․ Use apertures like f/2․8 or lower to achieve this effect, ensuring your subject stands out against natural surroundings․ This setting is particularly effective in sunlight, enhancing the overall aesthetic of your portrait photography․
2․2 Narrow Aperture (High f-stop) for Landscapes
A high f-stop (narrow aperture) ensures a deep depth of field, keeping both foreground and background sharp in landscape photography․ Use f/8 or higher to maintain focus across the entire scene․ This setting is ideal for capturing detailed outdoor environments, from mountains to valleys, while balancing light and composition effectively․ Shooting in RAW format enhances post-processing flexibility for such images․
2․3 Balancing Depth of Field and Light
Balancing depth of field and light requires adjusting aperture and shutter speed․ A narrow aperture (high f-stop) sharpens more of the image but may require slower shutter speeds or higher ISOs․ Conversely, a wide aperture (low f-stop) lets in more light but blurs backgrounds․ Finding the right balance ensures well-lit, detailed outdoor photos with optimal focus and minimal noise or blur․
Shutter Speed Techniques
Shutter speed controls motion capture in outdoor photography․ Faster speeds freeze action, while slower speeds create blur, adding dynamism to images like waterfalls or moving wildlife effectively․
3․1 Freezing Motion with Fast Shutter Speeds
Fast shutter speeds, typically 1/1000th of a second or faster, are ideal for freezing motion in outdoor photography․ This technique is perfect for capturing sharp images of moving subjects like wildlife, athletes, or waterfalls, ensuring crisp details and eliminating blur․ It’s essential for preserving clarity in dynamic scenes, making it a go-to setting for action-packed outdoor shoots․
3․2 Creating Motion Blur with Slower Shutter Speeds
Slower shutter speeds, such as 1/30th of a second or slower, create motion blur, adding dynamism to outdoor photos․ This technique is perfect for capturing flowing water, moving clouds, or wildlife in action, conveying a sense of movement and energy․ It’s ideal for artistic effects, allowing you to emphasize motion while keeping stationary elements sharp, enhancing the visual story of your image․
3․3 Balancing Shutter Speed for Optimal Exposure
Balancing shutter speed is crucial for optimal exposure in outdoor photography․ Faster speeds freeze motion, ideal for sharp images, while slower speeds create blur, adding artistic effects․ Adjusting this setting alongside aperture and ISO ensures the right brightness and detail, helping you achieve the desired visual impact in various lighting conditions for professional-grade results every time you shoot outdoors․
ISO Optimization
ISO optimization is crucial for capturing sharp, noise-free images․ In outdoor photography, lower ISOs (100-400) are ideal for daylight to minimize noise, while higher ISOs are used in low-light conditions, balancing brightness and detail․ Proper ISO adjustment ensures optimal exposure when combined with aperture and shutter speed settings․
4․1 Using Low ISO for Daylight Photography
Using a low ISO, typically between 100-400, is essential for daylight photography as it reduces noise and grain, ensuring crisp and clear images․ Lower ISOs allow the sensor to capture natural light effectively, preserving vibrant colors and fine details․ This setting is particularly beneficial for landscapes and portraits, where sharpness and clarity are paramount, especially in bright outdoor conditions․
4․2 Adjusting ISO in Low Light Conditions
In low-light outdoor photography, adjust ISO to strike a balance between brightness and noise․ Use higher ISOs to capture sufficient light, but avoid excessive sensitivity to minimize grain․ Opt for the lowest ISO necessary to maintain image quality, and consider shooting in RAW format to better manage noise during post-processing for optimal results․
4․3 Minimizing Noise in High ISO Settings
To minimize noise in high ISO settings, use the lowest ISO necessary for the scene and shoot in RAW format for better post-processing control․ Employ noise reduction tools in editing software like Lightroom, and consider using a tripod for longer exposures to avoid higher ISOs altogether, ensuring clearer, more detailed outdoor photos․
White Balance Configuration
Set white balance to Auto and shoot in RAW for flexibility․ Adjust in post-processing for accurate colors, ensuring natural tones in outdoor photography without manual field adjustments․
5․1 Auto vs․ Manual White Balance
Auto white balance automatically compensates for color casts, while manual mode allows precise adjustments using presets or custom settings․ For outdoor photography, using Auto and shooting in RAW provides flexibility, but manual white balance offers accuracy in challenging lighting conditions like sunsets or shaded areas․
5․2 Using White Balance Presets Effectively
White balance presets like Daylight, Cloudy, and Tungsten help match lighting conditions․ Use Daylight for natural colors, Cloudy for warmer tones, and Shade for cooler tones․ These presets enhance color accuracy in outdoor photography․ While they improve your shots, shooting in RAW ensures flexibility for fine-tuning later, making it ideal for precise adjustments․
5․3 Achieving Color Accuracy in Outdoor Shots
Natural light varies in color temperature, creating unique challenges․ Use Auto white balance for flexibility, then adjust in post-processing with RAW files․ This ensures accurate hues and realistic tones, capturing the true essence of outdoor scenes․ Adjusting white balance in post-processing allows precise control, enhancing color accuracy for professional results․
Focus Modes and Techniques
Mastering focus modes enhances sharpness and creativity․ Use autofocus for quick, dynamic shots and manual focus for precise control, ensuring tack-sharp results in outdoor photography․
6․1 Using Autofocus for Quick Shots
Autofocus is ideal for capturing dynamic outdoor moments․ With rapid subject tracking, it ensures sharp images in fast-paced scenarios like wildlife or portraits, allowing you to focus on composition while the camera handles focusing, making it indispensable for spontaneous shots where precision and speed are crucial to freezing fleeting moments effectively․
6․2 Manual Focus for Precision
Manual focus offers absolute control, ideal for outdoor photography requiring exact sharpness․ Adjust focus precisely for landscapes or macro shots, ensuring depth of field accuracy․ It’s particularly useful in low light or when autofocus struggles with complex compositions, allowing you to achieve crisp images without relying on the camera’s AF system, ensuring creative intent and technical perfection in every frame․
Importance of RAW Format
Shooting in RAW captures maximum image data, offering flexibility in post-processing․ It allows precise adjustments to exposure, white balance, and color accuracy, ensuring higher quality and detail retention․
7․1 Advantages of Shooting in RAW
Shooting in RAW format offers unparalleled flexibility, capturing maximum image data for precise post-processing adjustments․ It retains more detail in highlights and shadows, allowing for better noise reduction and color accuracy․ This makes RAW ideal for outdoor photography, where lighting conditions can vary, ensuring higher quality images and more creative control during editing․
7․2 How RAW Affects Post-Processing
RAW files provide greater latitude in post-processing, allowing adjustments to exposure, contrast, and colors without degrading image quality․ This flexibility is crucial for outdoor photography, where lighting conditions can be unpredictable․ By retaining all image data, RAW enables precise corrections and enhancements, making it easier to achieve professional-grade results in software like Lightroom or Photoshop․
Metering Modes for Exposure
Metering modes like Matrix and Spot help measure light accurately, ensuring balanced exposure in outdoor photography․ Matrix offers overall balance, while Spot focuses on specific subjects, enhancing precision and detail in varying lighting conditions․
8․1 Matrix Metering for Balanced Exposure
Matrix metering analyzes the entire scene, balancing light and dark areas for consistent exposure․ Ideal for outdoor photography, it ensures detailed highlights and shadows, preventing overexposure in bright conditions․ This mode is especially effective for landscapes, where maintaining dynamic range is crucial for capturing natural beauty and textures effectively in every shot․
8․2 Spot Metering for Specific Subjects
Spot metering focuses on a specific area, ensuring accurate exposure for your subject․ Ideal for high-contrast scenes, it helps isolate subjects like portraits or small details, preventing overexposure․ This mode is perfect for capturing precise lighting on specific elements, allowing you to maintain detail in both bright and dark areas effectively in outdoor photography settings․
Camera Modes for Different Scenarios
Camera modes like Manual, Aperture Priority, and Shutter Priority offer tailored control for various outdoor photography scenarios, enabling photographers to adapt settings for optimal results in diverse lighting and subject conditions․
9․1 Aperture Priority Mode
Aperture Priority mode allows you to set the aperture while the camera adjusts the shutter speed, ideal for controlling depth of field in outdoor photography․ Use it for street photography or wildlife, where lighting changes rapidly, to maintain sharpness and creative control without manual adjustments, ensuring balanced exposure and precise focus in dynamic conditions․
9․2 Shutter Priority Mode
Shutter Priority mode lets you control shutter speed, ideal for freezing motion or creating blur in outdoor photography․ Perfect for sports or wildlife, it allows you to capture dynamic action while the camera adjusts aperture․ Use faster speeds for sharp images or slower speeds for artistic blur, ensuring motion effects align with your creative vision in varying light conditions․
9․3 Manual Mode for Full Control
Manual mode offers complete control over aperture, shutter speed, and ISO, essential for outdoor photography․ Adjust settings to balance light, depth of field, and motion effects precisely․ Ideal for landscapes and portraits, manual mode allows customization to achieve desired artistic results, ensuring sharp details and natural colors in challenging lighting conditions while minimizing noise and maximizing image quality․

Tips for Mastering Manual Settings
Mastering manual settings requires adjusting aperture, shutter speed, and ISO for optimal results․ Practice regularly to refine your skills and adapt to varying lighting conditions․
10․1 Adjusting Settings for Changing Light
Outdoor lighting changes rapidly, requiring constant adjustments to aperture, shutter speed, and ISO․ Monitor your histogram to ensure balanced exposure, and use manual focus for precision․ Adjust aperture for depth of field and shutter speed to freeze or blur motion․ Optimize ISO for minimal noise, ensuring sharp, detailed images in varying conditions․ Practice adaptability to master these adjustments seamlessly․
10․2 Practicing with Different Scenarios
Experimenting with various outdoor scenarios sharpens your skills in manual mode․ Practice portraits with wide apertures, landscapes with narrow apertures, and motion shots with slow or fast shutter speeds․ Shoot in RAW to enhance post-processing flexibility․ Regular practice helps you adapt to changing light and refine your technique, ensuring you capture stunning images consistently in diverse outdoor environments and lighting conditions․ Dedication leads to mastery․
Common Mistakes to Avoid
Avoid overlooking white balance, as it greatly impacts color accuracy․ Incorrectly using aperture and shutter speed can lead to overexposure or lack of depth․ Always shoot in RAW for better post-processing flexibility and detail retention, especially in challenging outdoor lighting conditions․
11․1 Overlooking White Balance
Ignoring white balance can lead to unnatural color casts in outdoor photos․ Use Auto mode and shoot RAW for flexibility, but consider manual adjustments for accuracy, especially in challenging lighting like shade or sunset, where colors may appear too blue or yellow without proper correction․
11․2 Incorrect Use of Aperture and Shutter Speed
Incorrectly using aperture and shutter speed can ruin outdoor shots․ A wide aperture (low f-stop) in bright light can overexpose images, while too narrow an aperture can underexpose them․ Similarly, fast shutter speeds in low light miss light, causing darkness, while slow speeds in bright light overexpose․ Start with aperture or shutter priority modes to balance exposure and achieve desired effects without manual mode overwhelm․
Mastering manual settings for outdoor photography involves understanding aperture, shutter speed, and ISO․ Practice and experiment with these tools to capture stunning, well-balanced images every time․
12․1 Summarizing Key Takeaways
Mastering manual mode enhances outdoor photography by balancing aperture, shutter speed, and ISO․ Use RAW for flexibility, optimize white balance for color accuracy, and practice adjusting settings to refine your skills and adapt to varying light conditions effectively․
12․2 Encouragement to Practice and Experiment
Embrace practice and experimentation to refine your outdoor photography skills․ Explore different manual settings, techniques, and lighting conditions to discover what works best for you․ Don’t be discouraged by early challenges—consistent practice leads to mastery․ Keep experimenting with aperture, shutter speed, and ISO to capture unique perspectives and achieve stunning results in your outdoor photography journey․